Painless plein air: how I comfortably carried a painting rig high into the Eastern Sierras
Trail-tested gear that made plein air possible at 10,500 feet.

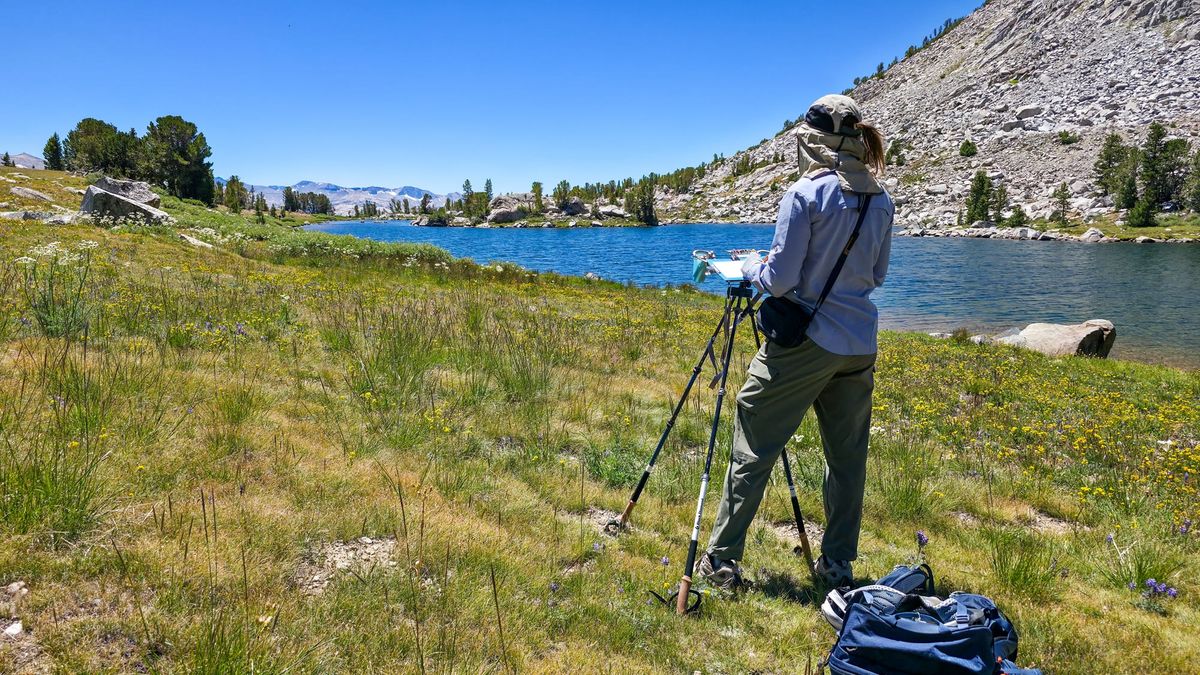
Since I am usually looking for ways to make cuts to my art kits, it feels somewhat strange sharing that this year, I spent a non-trivial amount of time planning how to bring along more art supplies for our annual hike up to Gaylor Lake in Yosemite National Park.
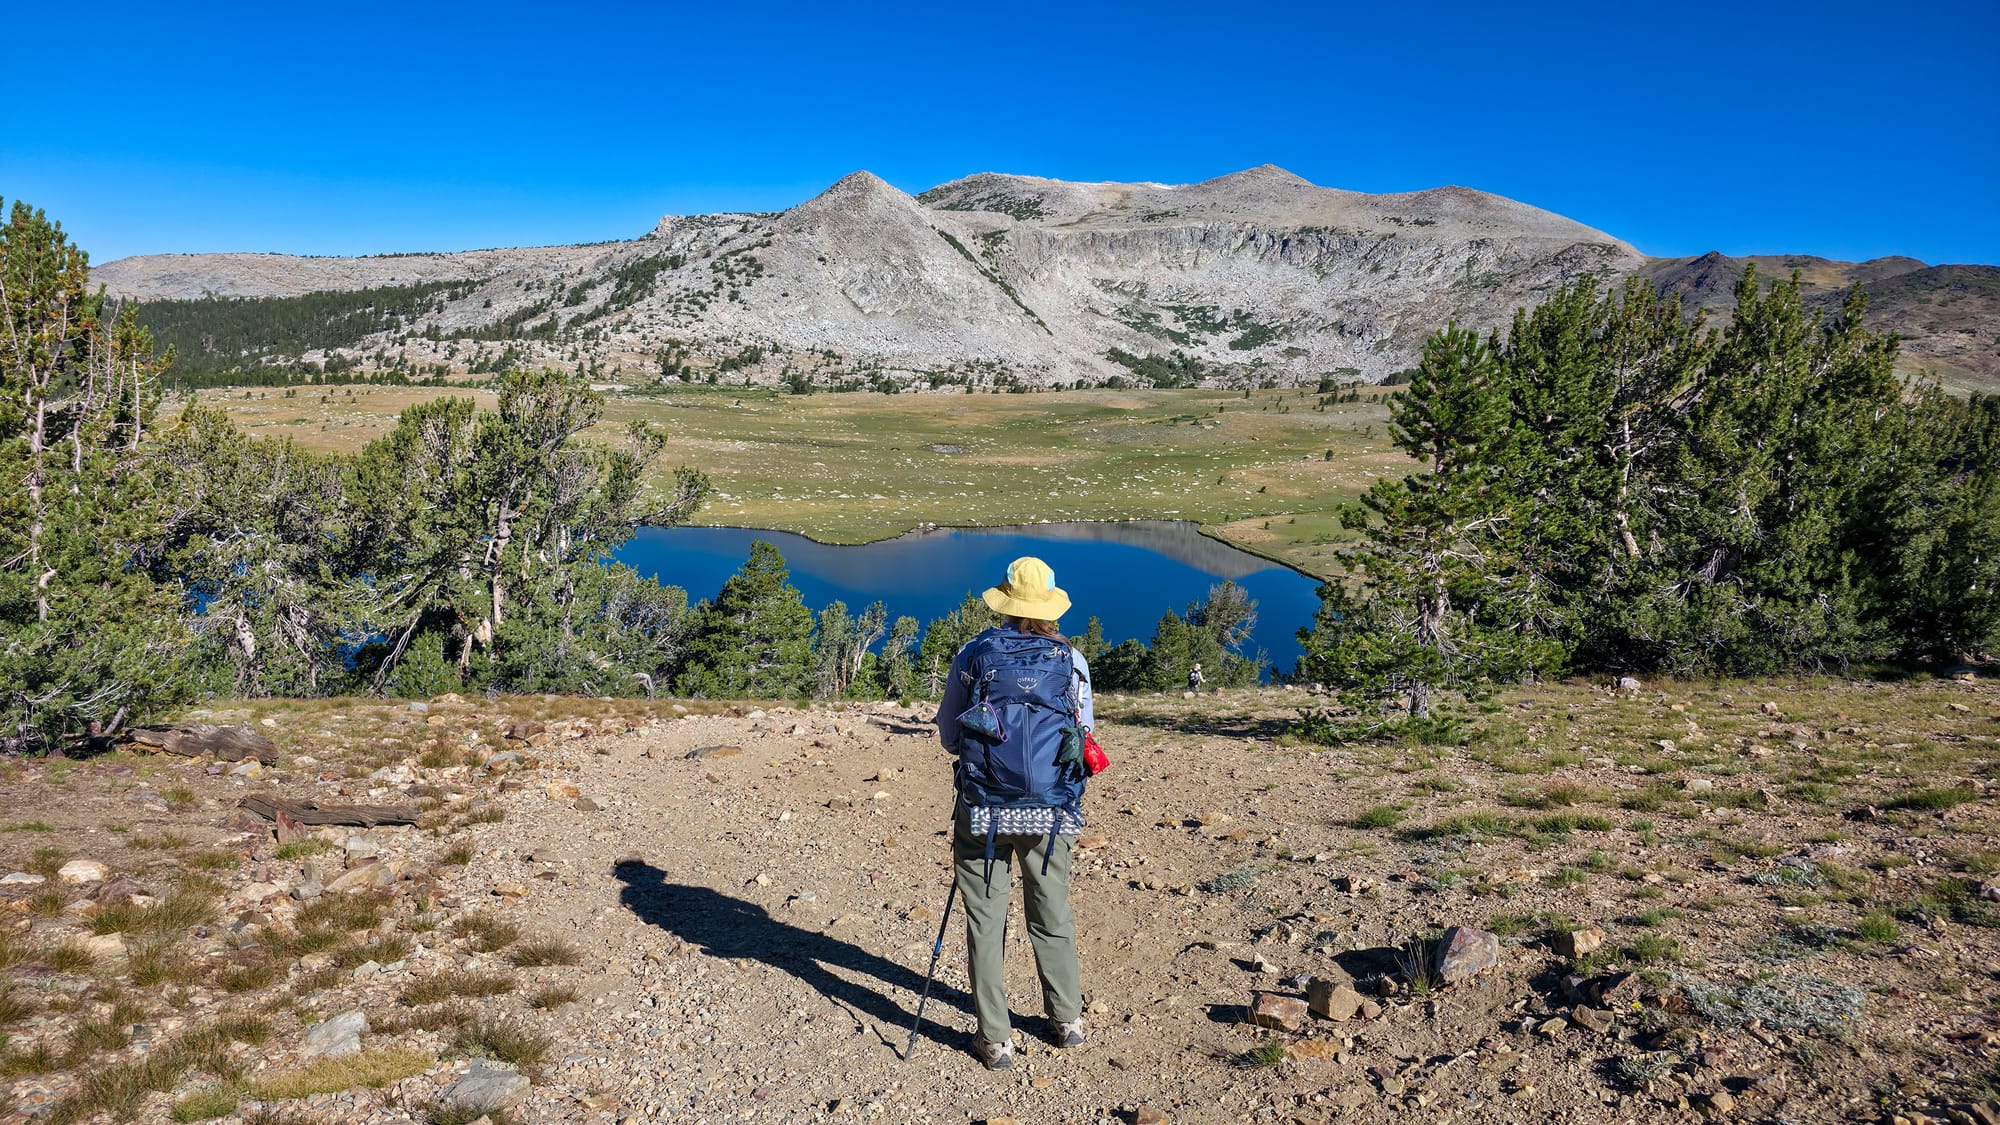
Gaylor Lake (and nearby Upper Granite Lake) is home to the beloved pika and plenty of brook trout, making the trek up to ~10,500 feet worth every step over the saddle and into the flower-studded alpine meadow below. The views are stunning and the setting is serene.
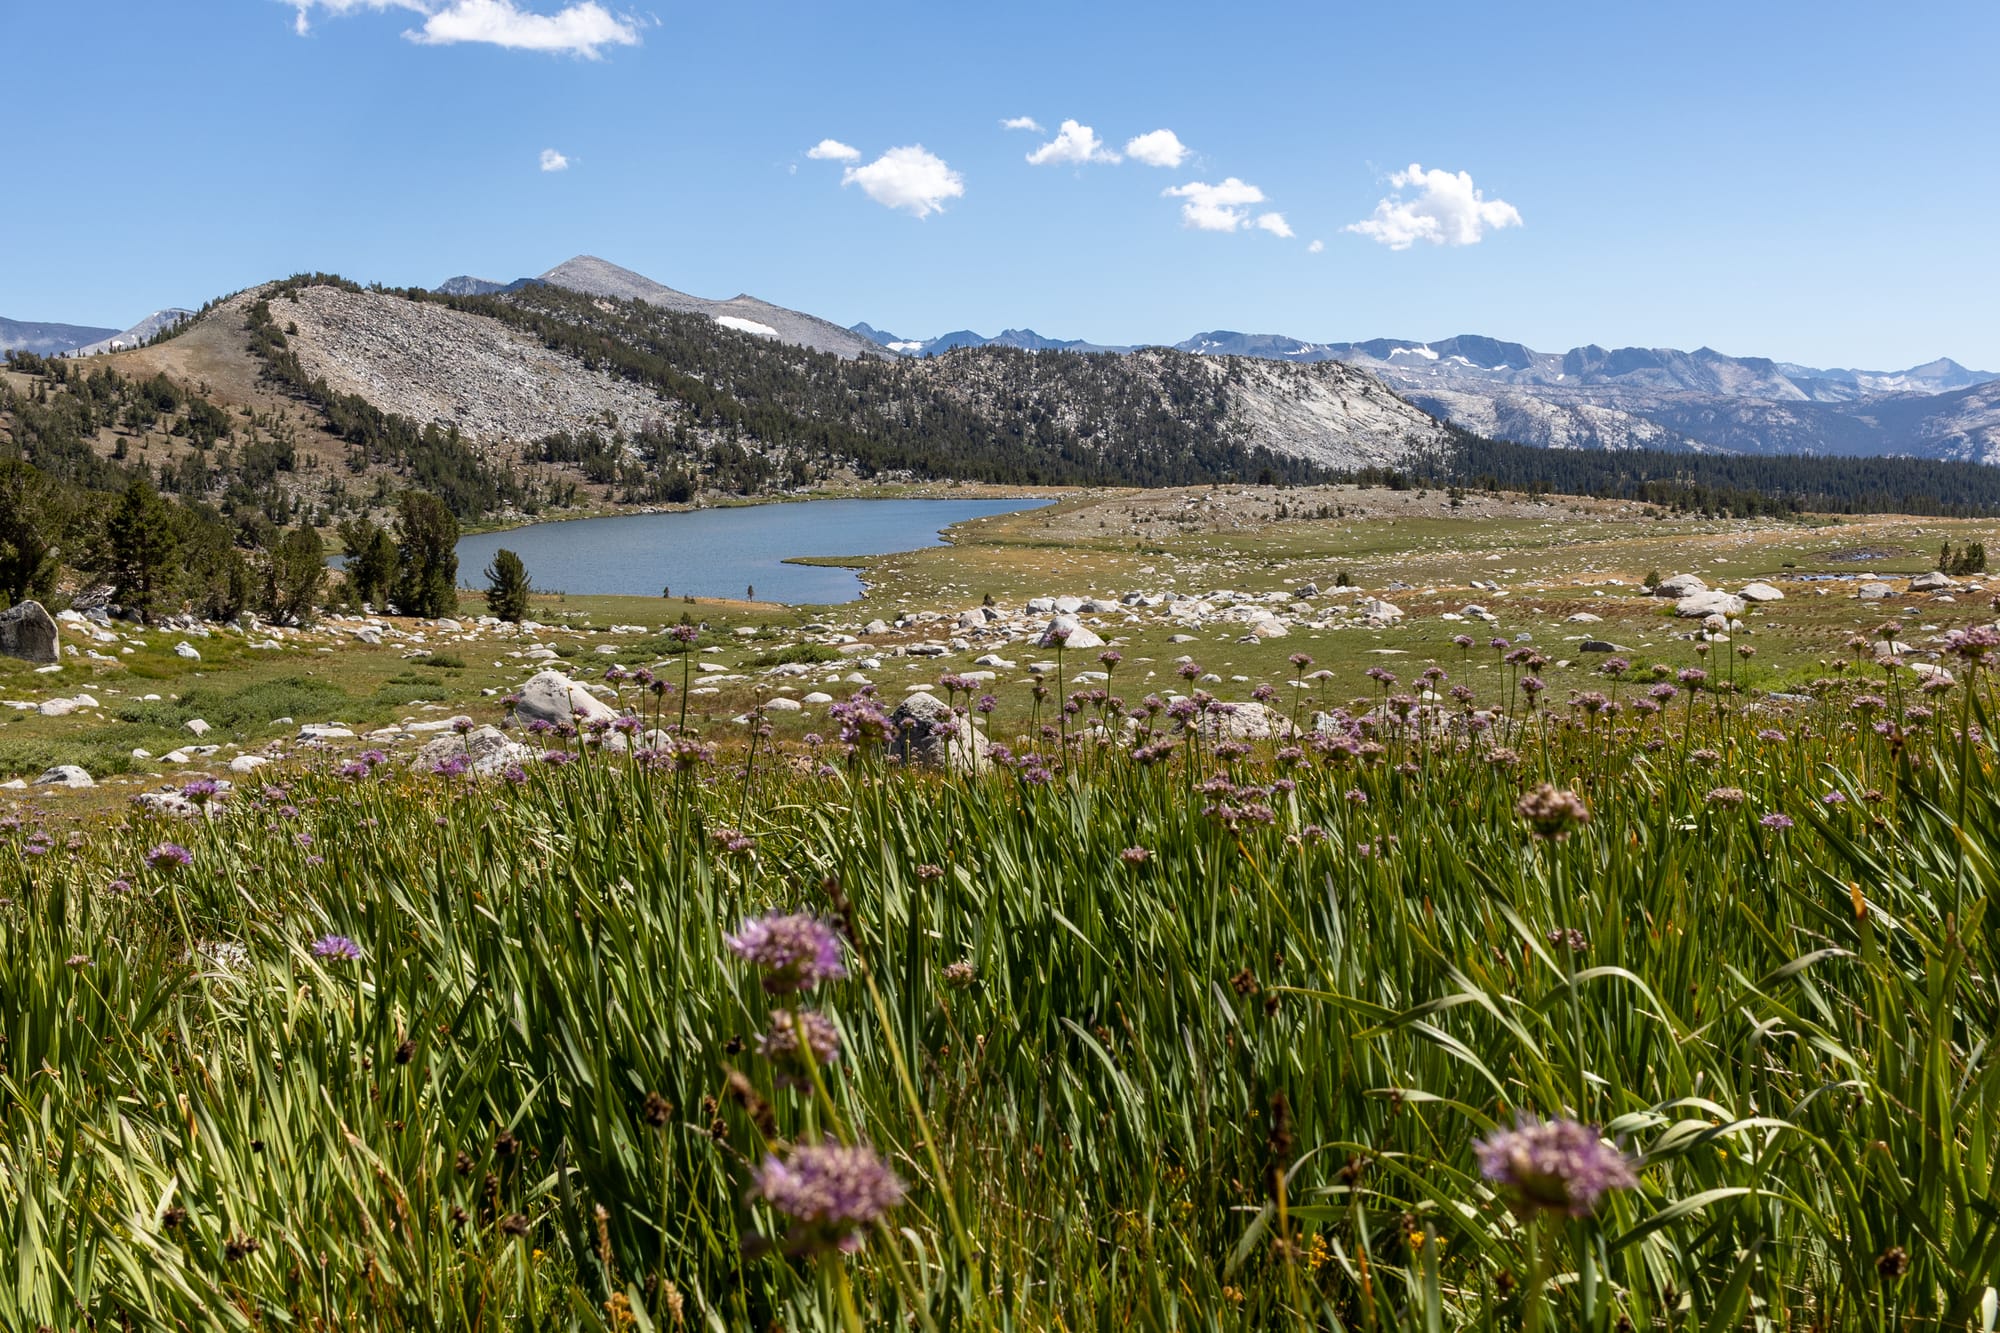
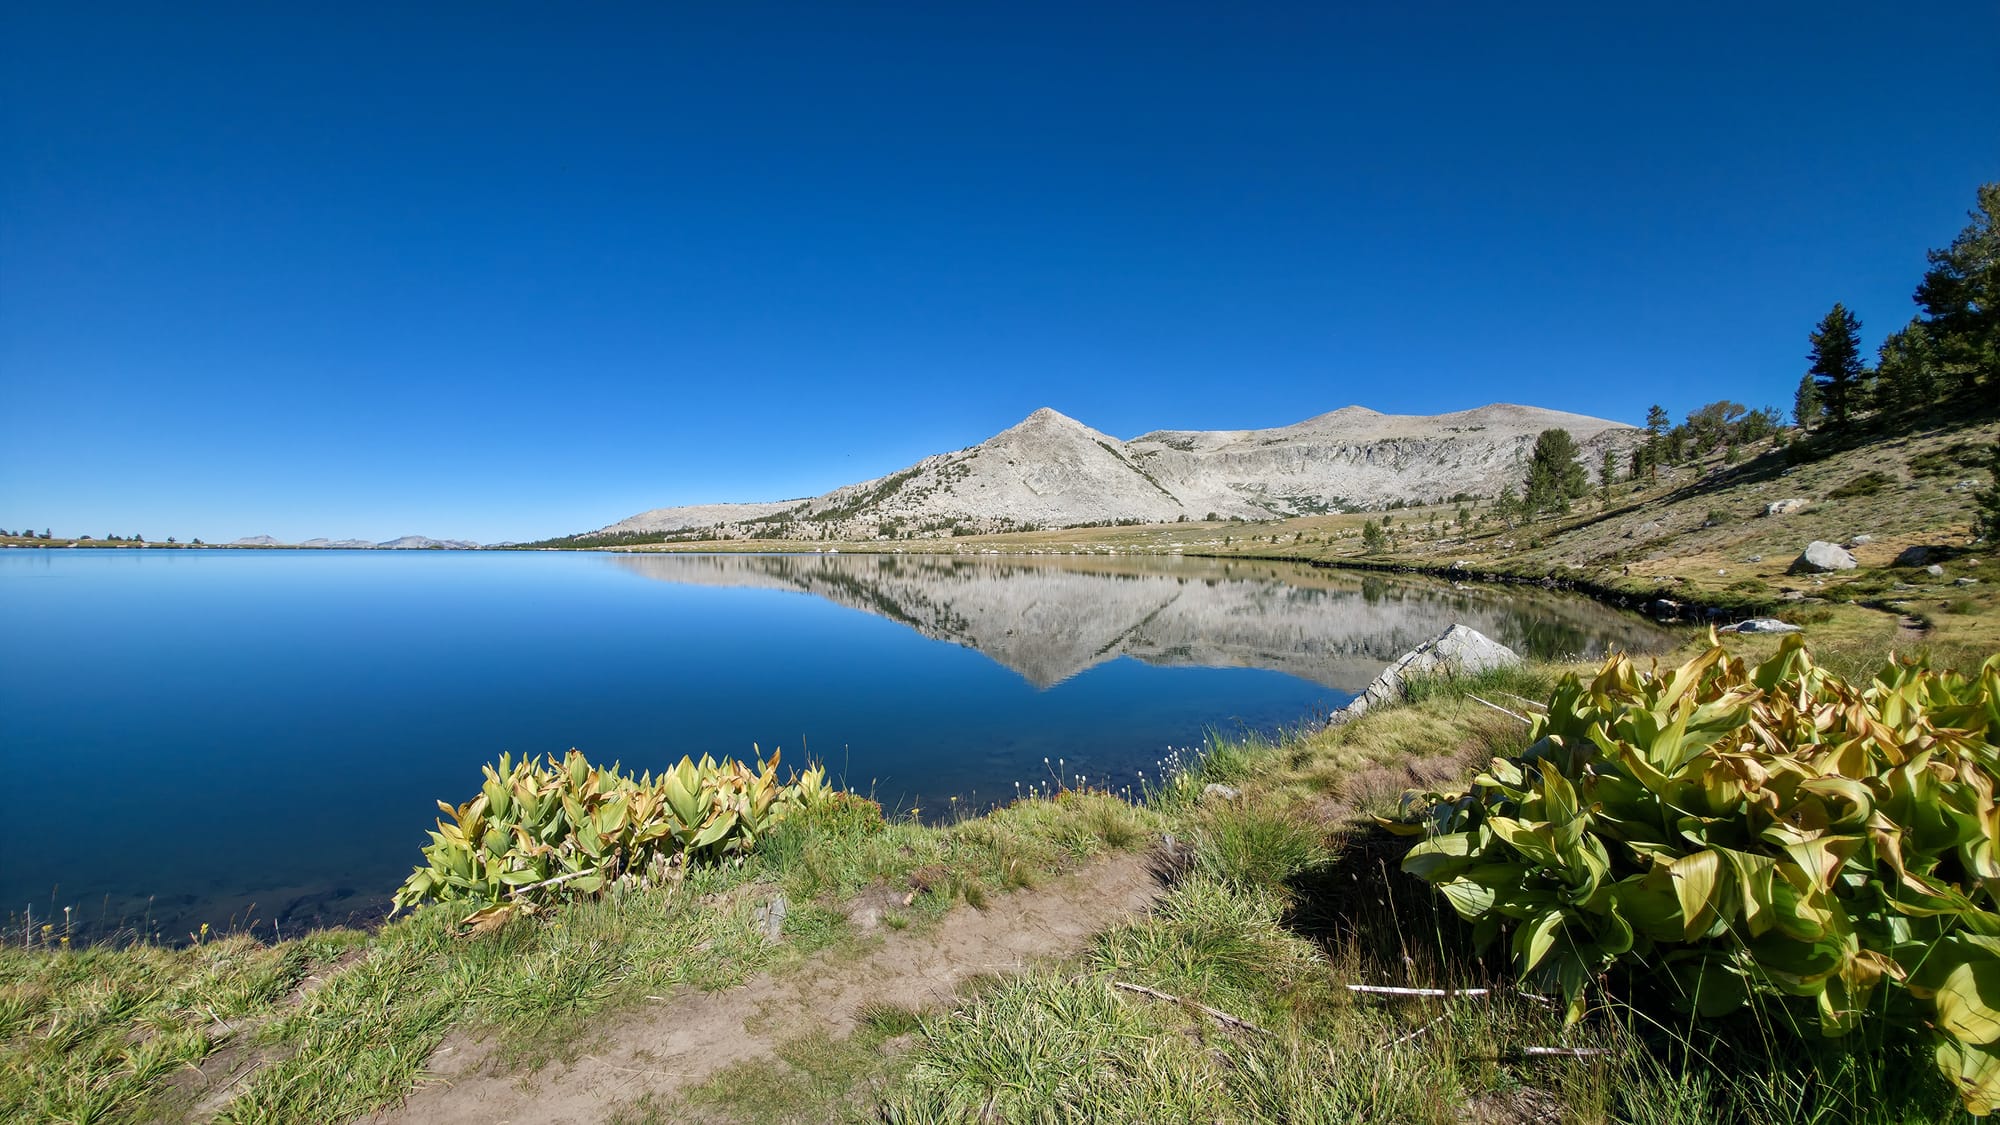
Gaylor Lake and its nearby sister lakes are my favorite hiking destination, and we always spend a good part of the day here—nature journaling, fly fishing, painting, hiking, and enjoying a picnic lunch at the base of Gaylor's talus field, where the pikas make hay while the sun shines.
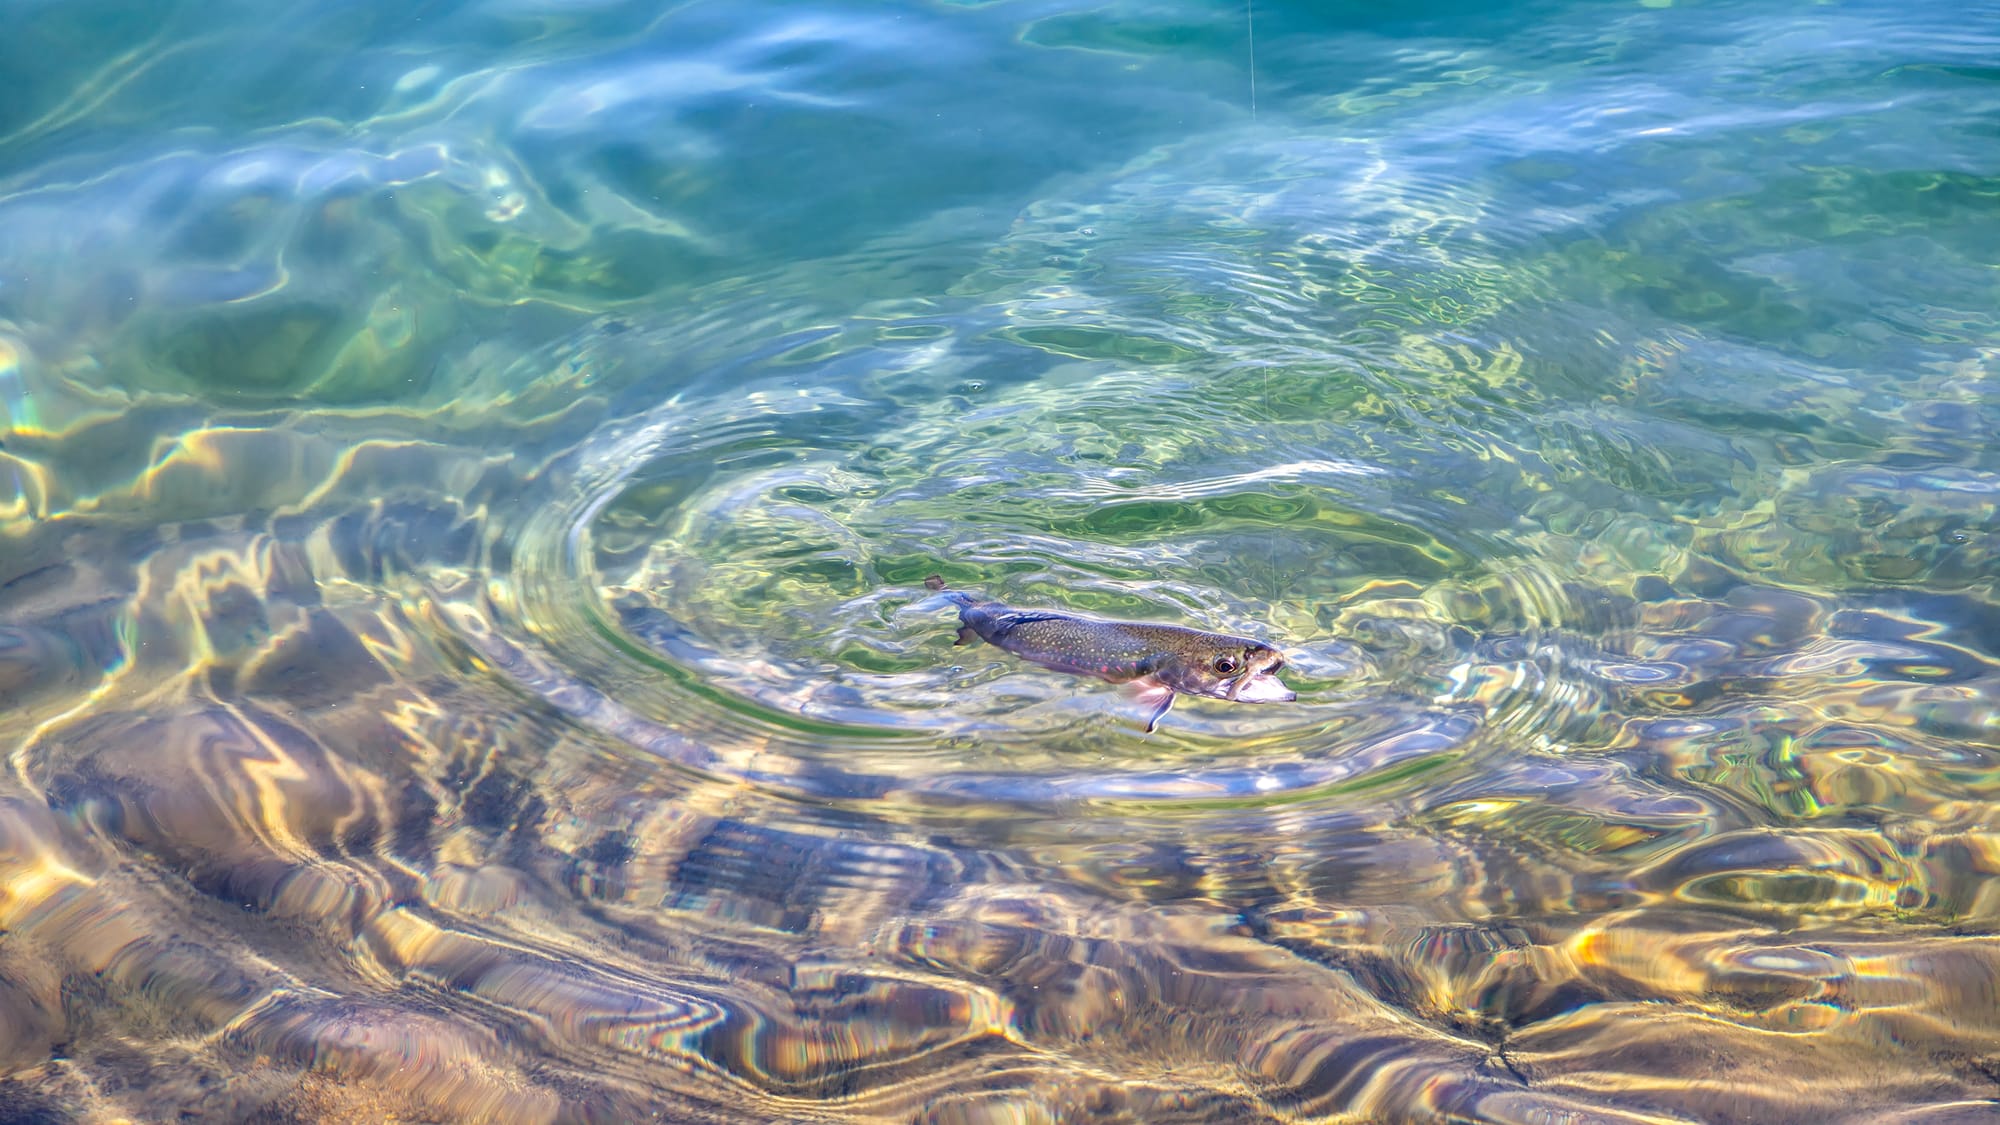
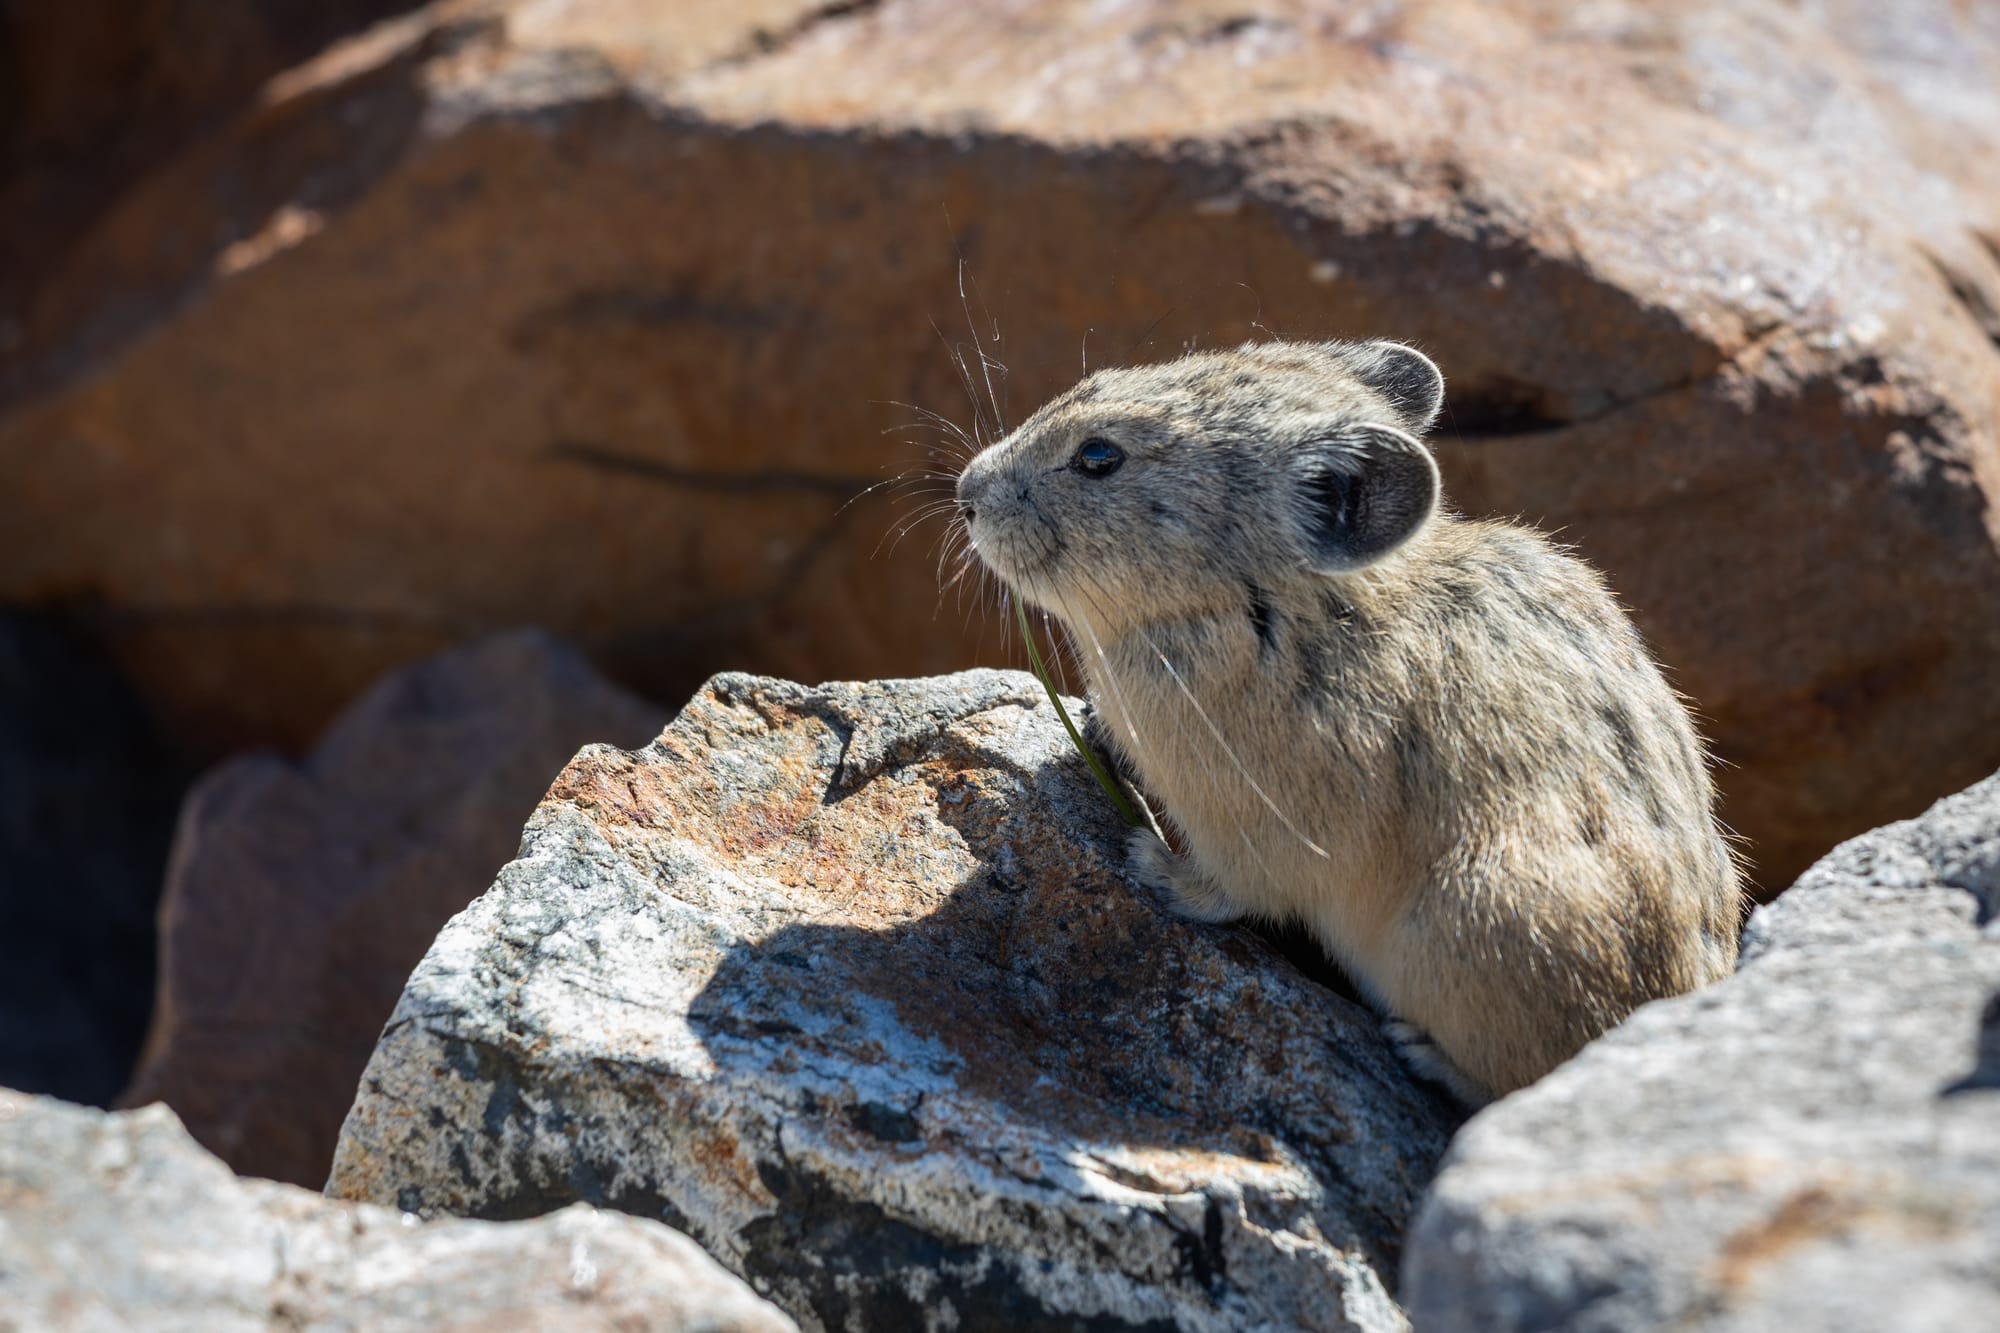
Left: A brook trout, hooked on a small, barbless ant fly, caught and released by my husband. Right: A juvenile pika (2025), munching on leaves from its nearby haystack.
This year, I wanted to develop a plein air setup that would allow me to paint for extended periods while providing enough freedom of movement to dash away at a moment's notice to snap photos of my husband if he caught a fish (he did!). My monopod sketch easel, while lightweight and fantastic, works only when tethered to my waist, making a quick getaway difficult. So this year's goal was to have the stability of the monopod but with the standalone nature of a tripod—and to keep the full setup as lightweight as possible.
With overall pack weight being a limiting factor (I also needed to carry 4 liters of water, my food for the day, the Ten Essentials, fly fishing gear, and other miscellaneous items), it was imperative that whatever made it into my plein air rig was worth every ounce on my back and joints. The 2-pound tripod I had initially selected and trialed for this trip, paired with my more robust plein air setup, was clearly going to eat away at too much of my valuable pack space, and I wondered how I would be able to realistically carry everything I had hoped to bring along for the trek up the mountain without causing unnecessary strain.
I began trying to develop a custom tool that could combine my monopod with my trekking poles to create a sort of makeshift tripod, since I would be using my trekking poles anyway for this hike. Combining these items would allow me to use my trekking poles for a secondary purpose—as a tripod—making it a hiking win-win.
Luckily, about two weeks before our trip, I discovered a nifty little piece of kit that had already solved my design challenge: The TrekPod. At only ~4 oz., this lightweight, 3D printed "hub" allowed me to ditch the heavy tripod! The price was reasonable (I bought mine on Etsy), and I was able to receive it with enough lead time to test it at home before we left for our trip.
The TrekPod requires three trekking poles, and since my husband also hikes with trekking poles, I was able to borrow one of his poles while he was busy fishing to use along with my two poles to create a lightweight tripod for my sketch easel.
To round out my plein air sketch easel rig, I attached my custom monopod ball-head mount to the TrekPod base, and onto the ball-head I connected my carbon fiber clipboard, which serves as the platform for my paper. My homemade easel has a few wooden Stablo accessories attached to it, which hold my paint palette and water cup. I've attached these to my clipboard using small screws with bolts so that I can pivot the Stablo arms out of the way for stowing, ensuring they don't fall off or get lost.
I've shared more extensively about how I made my easel and monopod on my art supplies page, if you'd like to learn more.
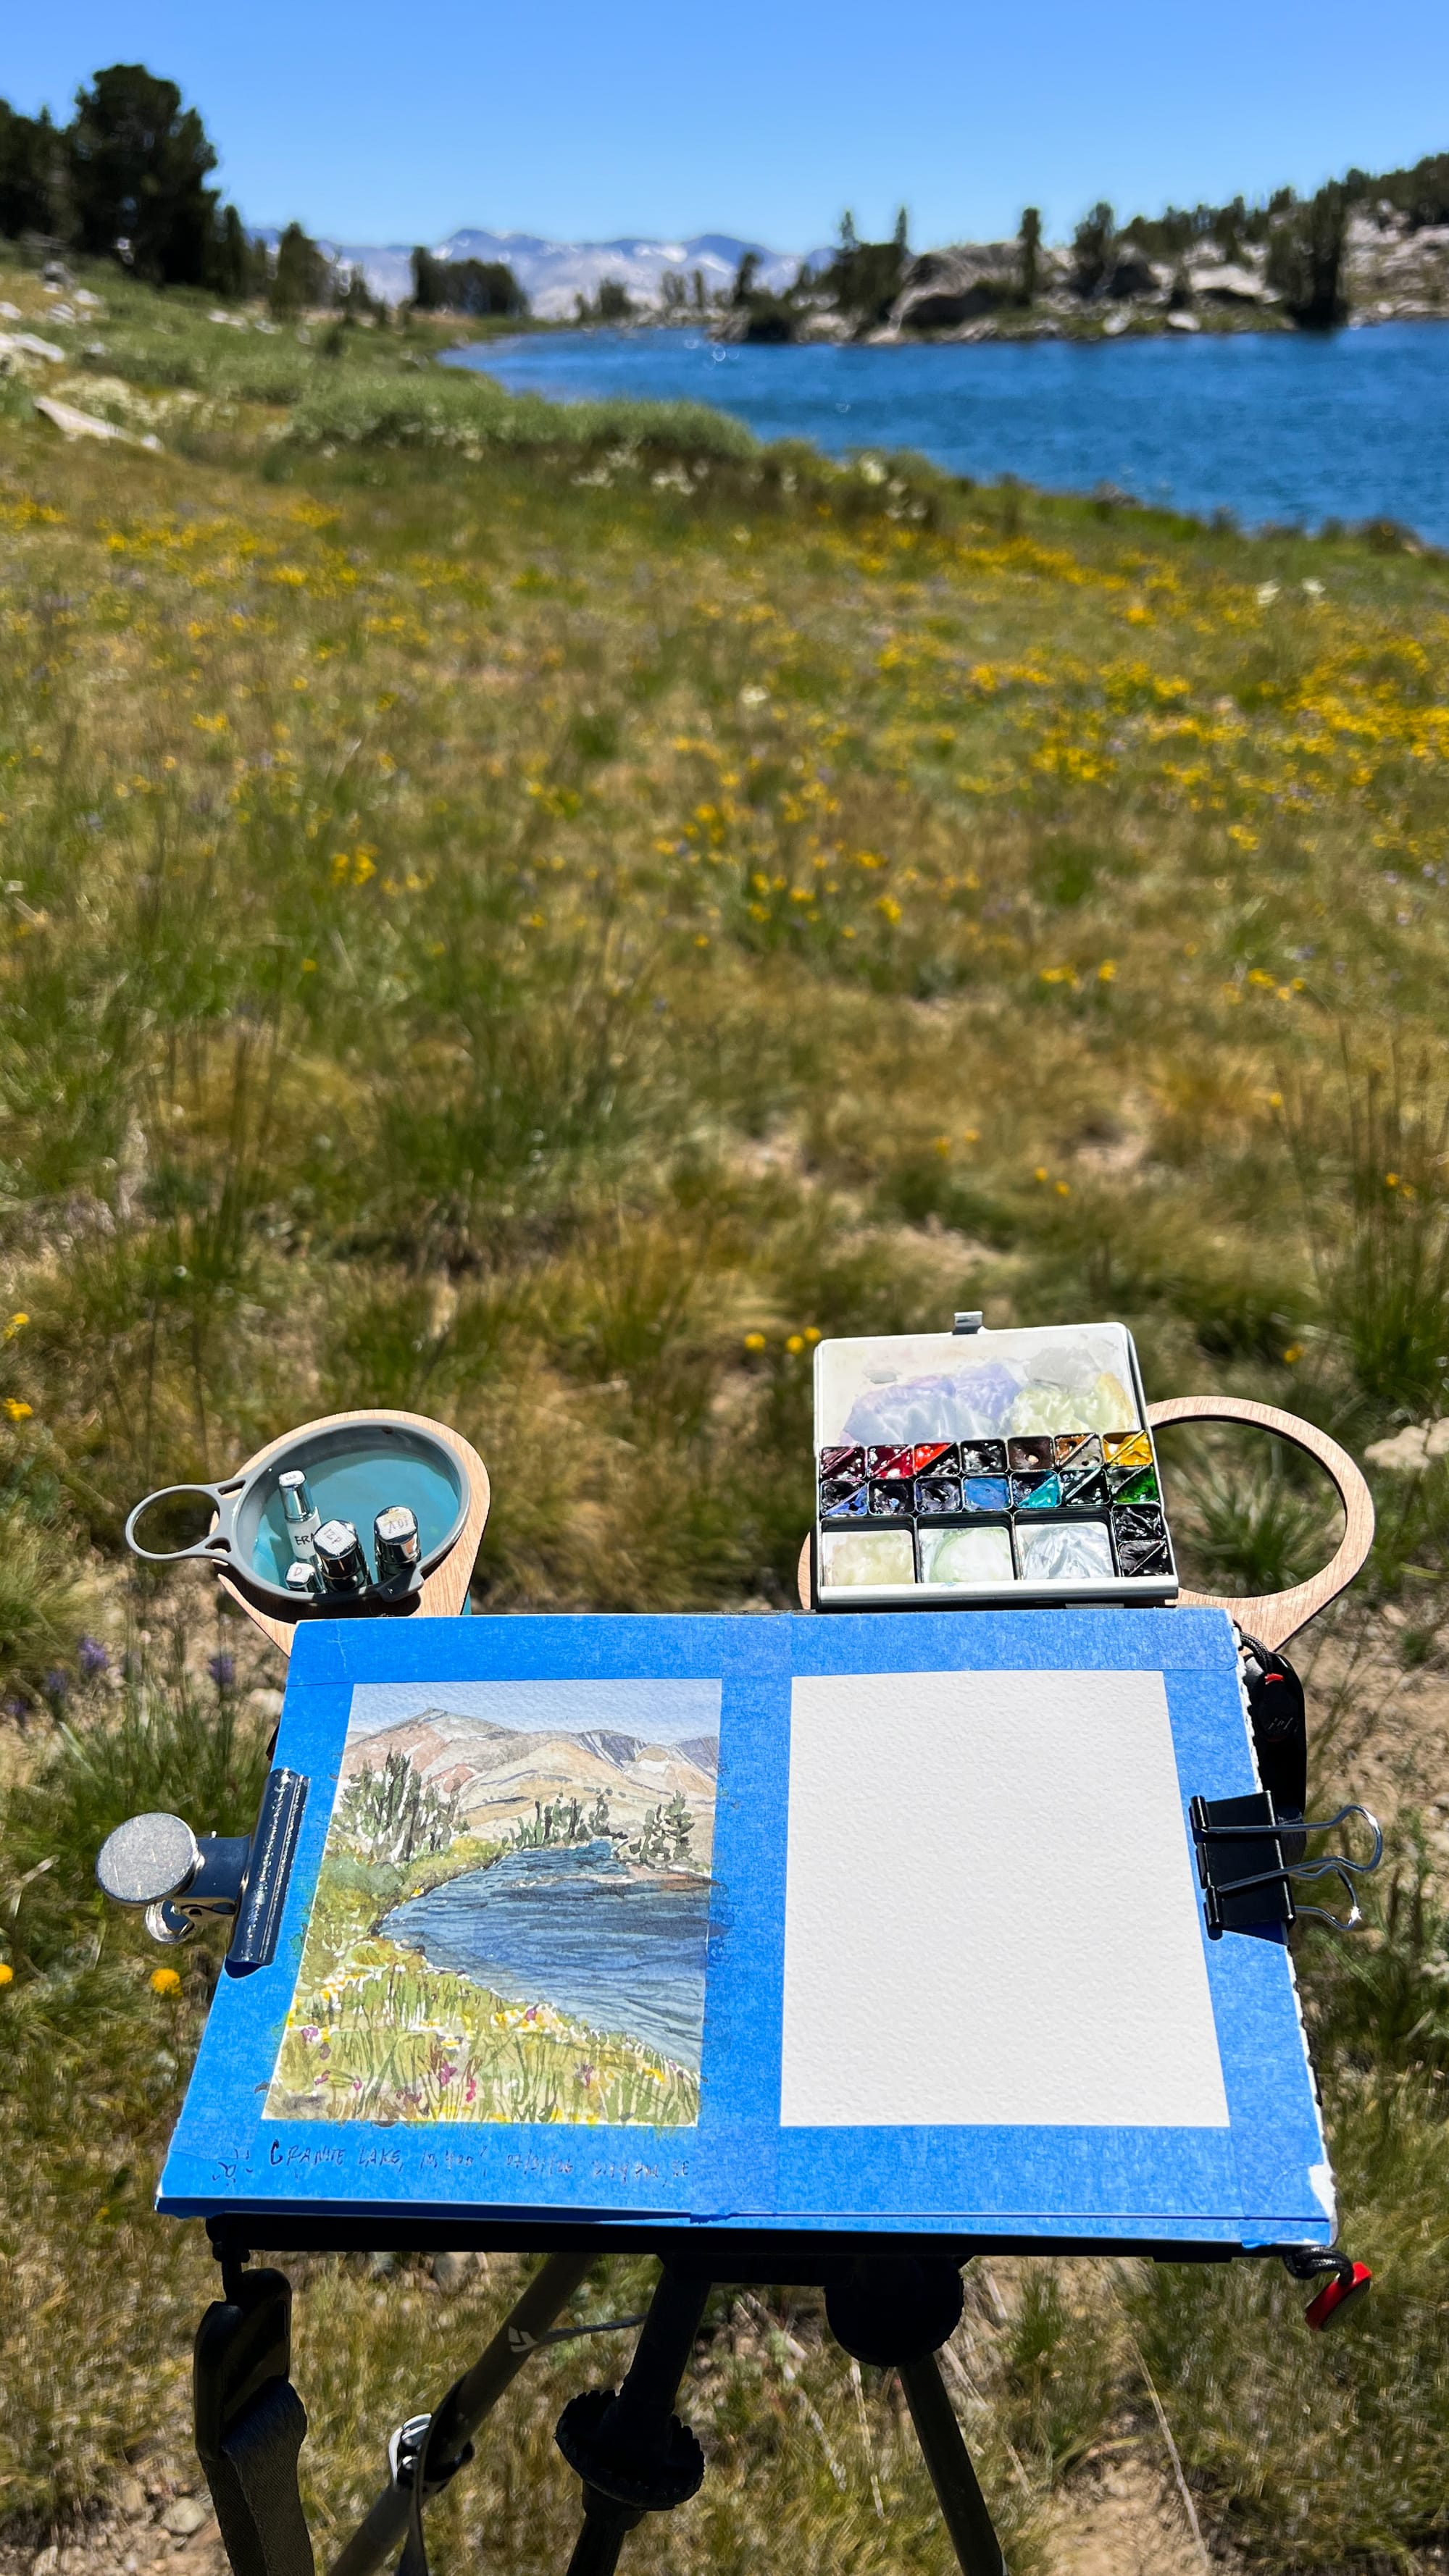
My plein air paper of choice for this plein air session was the Arches Travel Journal (Cold Press). To reduce unnecessary weight, I only brought along two sheets from the book, as I knew I would not need more than that for the Gaylor hike. Since the Travel Journal is spiral-bound, removing paper was easy.
For this longer hike, I brought along my ArtToolkit Pocket Palette. This is the palette that goes everywhere with me, including on these longer hikes. I adore ArtToolkit watercolor palettes and have several, each arranged for a different kind of work. If you choose to make a purchase via ArtToolkit, you can use the promo code BROOKE10 to get 10% off qualifying items.
I decided early on that I would benefit from using larger brushes with a wide-mouthed water container, since my previous experience painting in the Eastern Sierras taught me that the dry air sucks the moisture out of my brushes much more quickly than the conditions I'm used to at home. Normally, I paint from a small Nalgene bottle with a somewhat narrow opening and a screw-on cap, but here, I would need more water, and the container would need to be wide enough to provide easy access for frequent dips...
...but that came with its own challenge. See, there's a reason I don't typically use a large water container in the field. Can you guess why?
Dirty paint water!
We never want to dispose of dirty paint water out in the field, so my solution has been to paint from my mini Nalgene bottle until the water gets too dirty to use, then stop, screw the cap back on, and finish up with water brushes. Since I needed more water this time, I needed to find a solution for my dirty water.
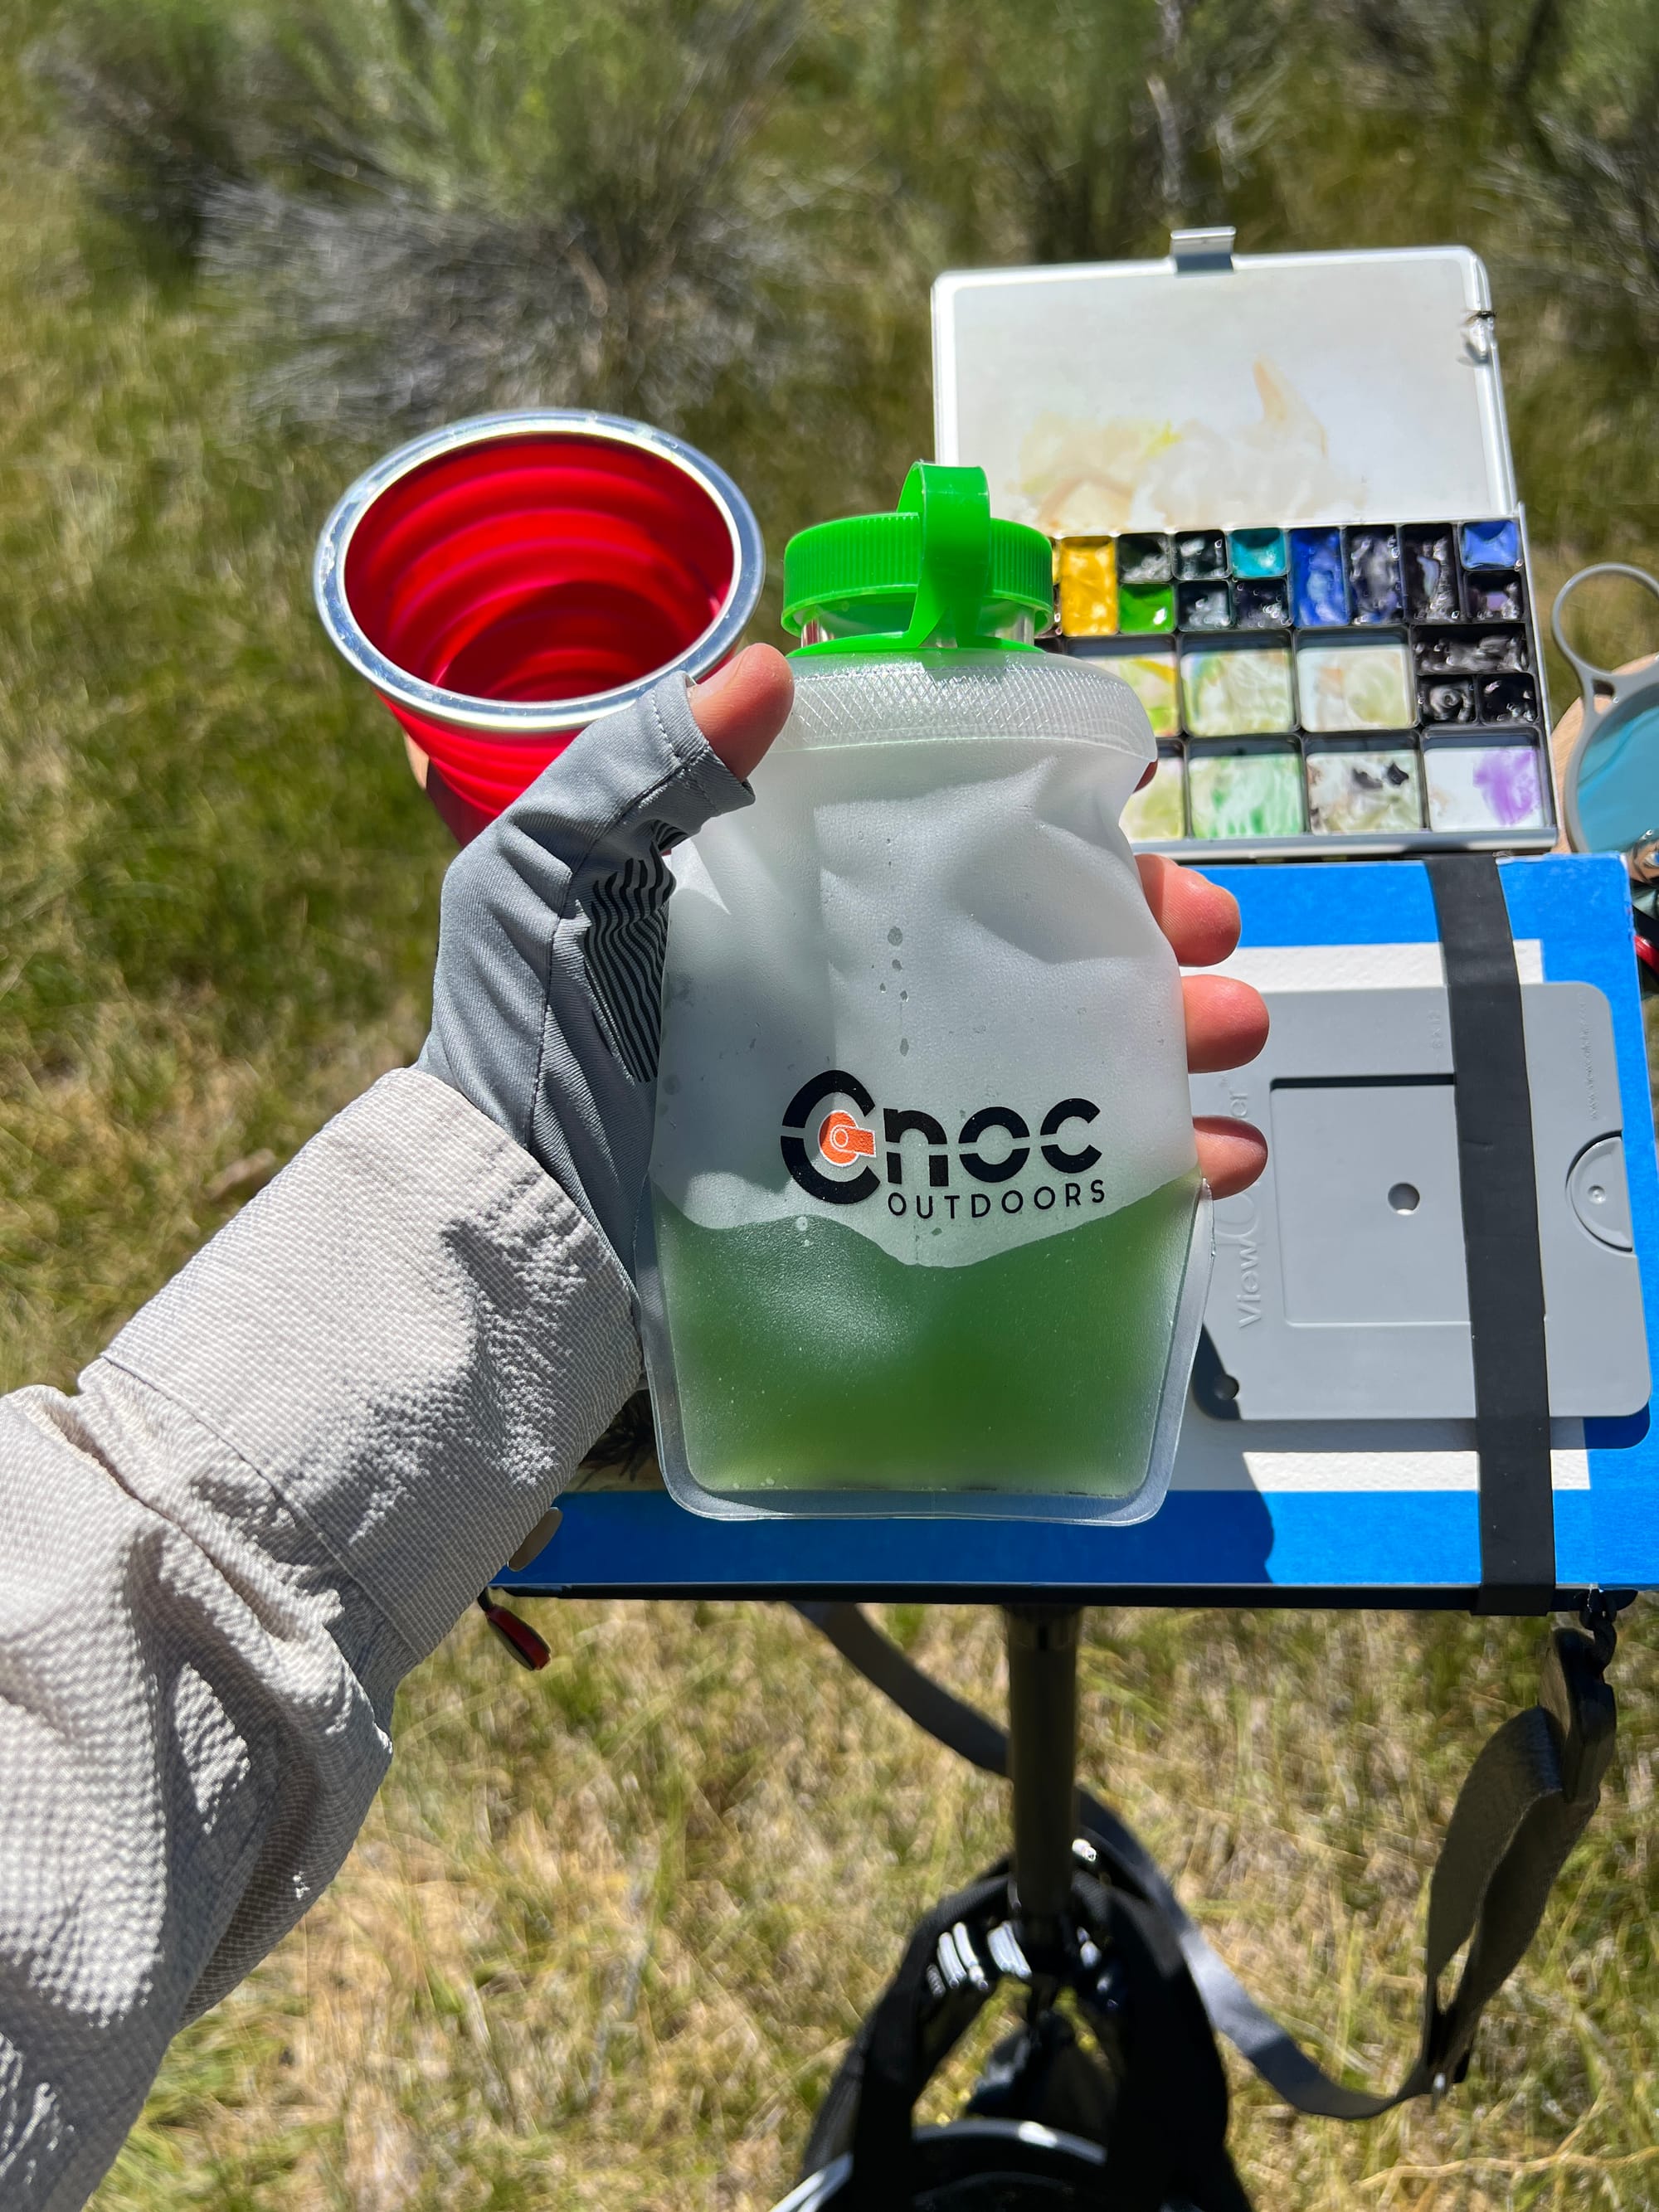
To solve for this, I purchased a mini, wide-mouthed Cnoc water bladder to store my dirty paint water so I could pack it out securely. It's lightweight, packs down to nearly nothing, and I intentionally selected a size that wouldn't exceed what I'd likely need for up to three clean paint-water refills. The key to this bladder is its wide mouth, which made pouring dirty water into it much easier than if the opening were narrow.
In the end, every piece of this plein air setup earned its place in my pack—not because it was the lightest or the fanciest option available, but because each component solved a real problem and allowed me to make the most of the setting I was in. I think that's what I enjoy most about building kits like this. For me, it's less about finding the "perfect" gear and more about discovery around what a specific trail, a specific season, and a specific goal actually demand, then creatively trimming everything else away.
I came home from Gaylor Lake with a new painting, lots of photos, and a ton of wonderful new memories to keep me anxious for next year's trip, plus a setup I'm already looking forward to refining further.
If you're working on your own plein air kit, I'd love to hear what trade-offs you've had to make and what pieces of gear have turned out to be worth their weight on the trail.
Happy painting!
Note: I am an affiliate with ArtToolkit and Amazon.com and might earn a commission if you purchase via these links. Thank you!